How to Get Your Logo Right on Promotional Items for Maximum Brand Impact
Learn how to effectively place your logo on promotional items to boost brand visibility and make a lasting impression at events and beyond.

Written by
Ollie Brown
Corporate Gifts
Getting your logo onto promotional items sounds straightforward — until you’re faced with a dozen product choices, three decoration methods, and a supplier asking for your artwork in a file format you’ve never heard of. Whether you’re a Sydney-based marketing manager preparing for a trade show, a school in Brisbane coordinating a fundraising drive, or a Canberra government department kitting out staff for a conference, the decisions you make about how your logo appears on branded merchandise can make or break the final result. Done well, promotional items with your logo become powerful, lasting touchpoints for your brand. Done poorly, they end up in the bin within days. This guide walks you through everything you need to know to get it right.
Why Promotional Items with Your Logo Still Matter in 2026
In a world saturated with digital advertising, physical branded merchandise remains one of the most effective forms of marketing. Studies consistently show that people keep quality promotional products for months — sometimes years — using them daily and exposing your logo to dozens of potential new contacts in the process.
Think about a well-made branded keep cup handed out at a Melbourne corporate event. Every time that recipient uses it at the office or their local café, your logo is doing quiet, consistent work. Compare that to a digital banner ad that disappears the moment someone scrolls past it.
The key word here is quality. The effectiveness of promotional items with your logo depends entirely on:
- The quality of the product itself
- How well the decoration method suits the item
- Whether your logo is reproduced accurately and clearly
- Whether the product is genuinely useful to the recipient
When all four of these elements align, branded merchandise becomes one of the most cost-effective marketing tools available to Australian businesses, schools, and organisations.
Choosing the Right Products for Your Logo
Not every product suits every logo. Before you even think about decoration, spend some time considering what you’re trying to achieve and who will receive the items.
Match the Product to Your Audience
A Perth mining company ordering branded workwear for safety-critical environments has very different needs from an Adelaide private school ordering tote bags for a student welcome pack. Understanding your audience shapes everything — the product type, the decoration method, and even how prominently your logo should appear.
Here are some popular product categories and how logos typically work on each:
Custom Apparel (T-shirts, Polos, Hoodies, Caps): Logo placement is typically on the chest, back, or sleeve. Embroidery works beautifully on structured garments like polo shirts and caps, giving a professional, high-end result. Screen printing is better suited for bold, large designs on t-shirts. For more detail on choosing between these methods, check out our guide to embroidery vs screen printing for custom apparel.
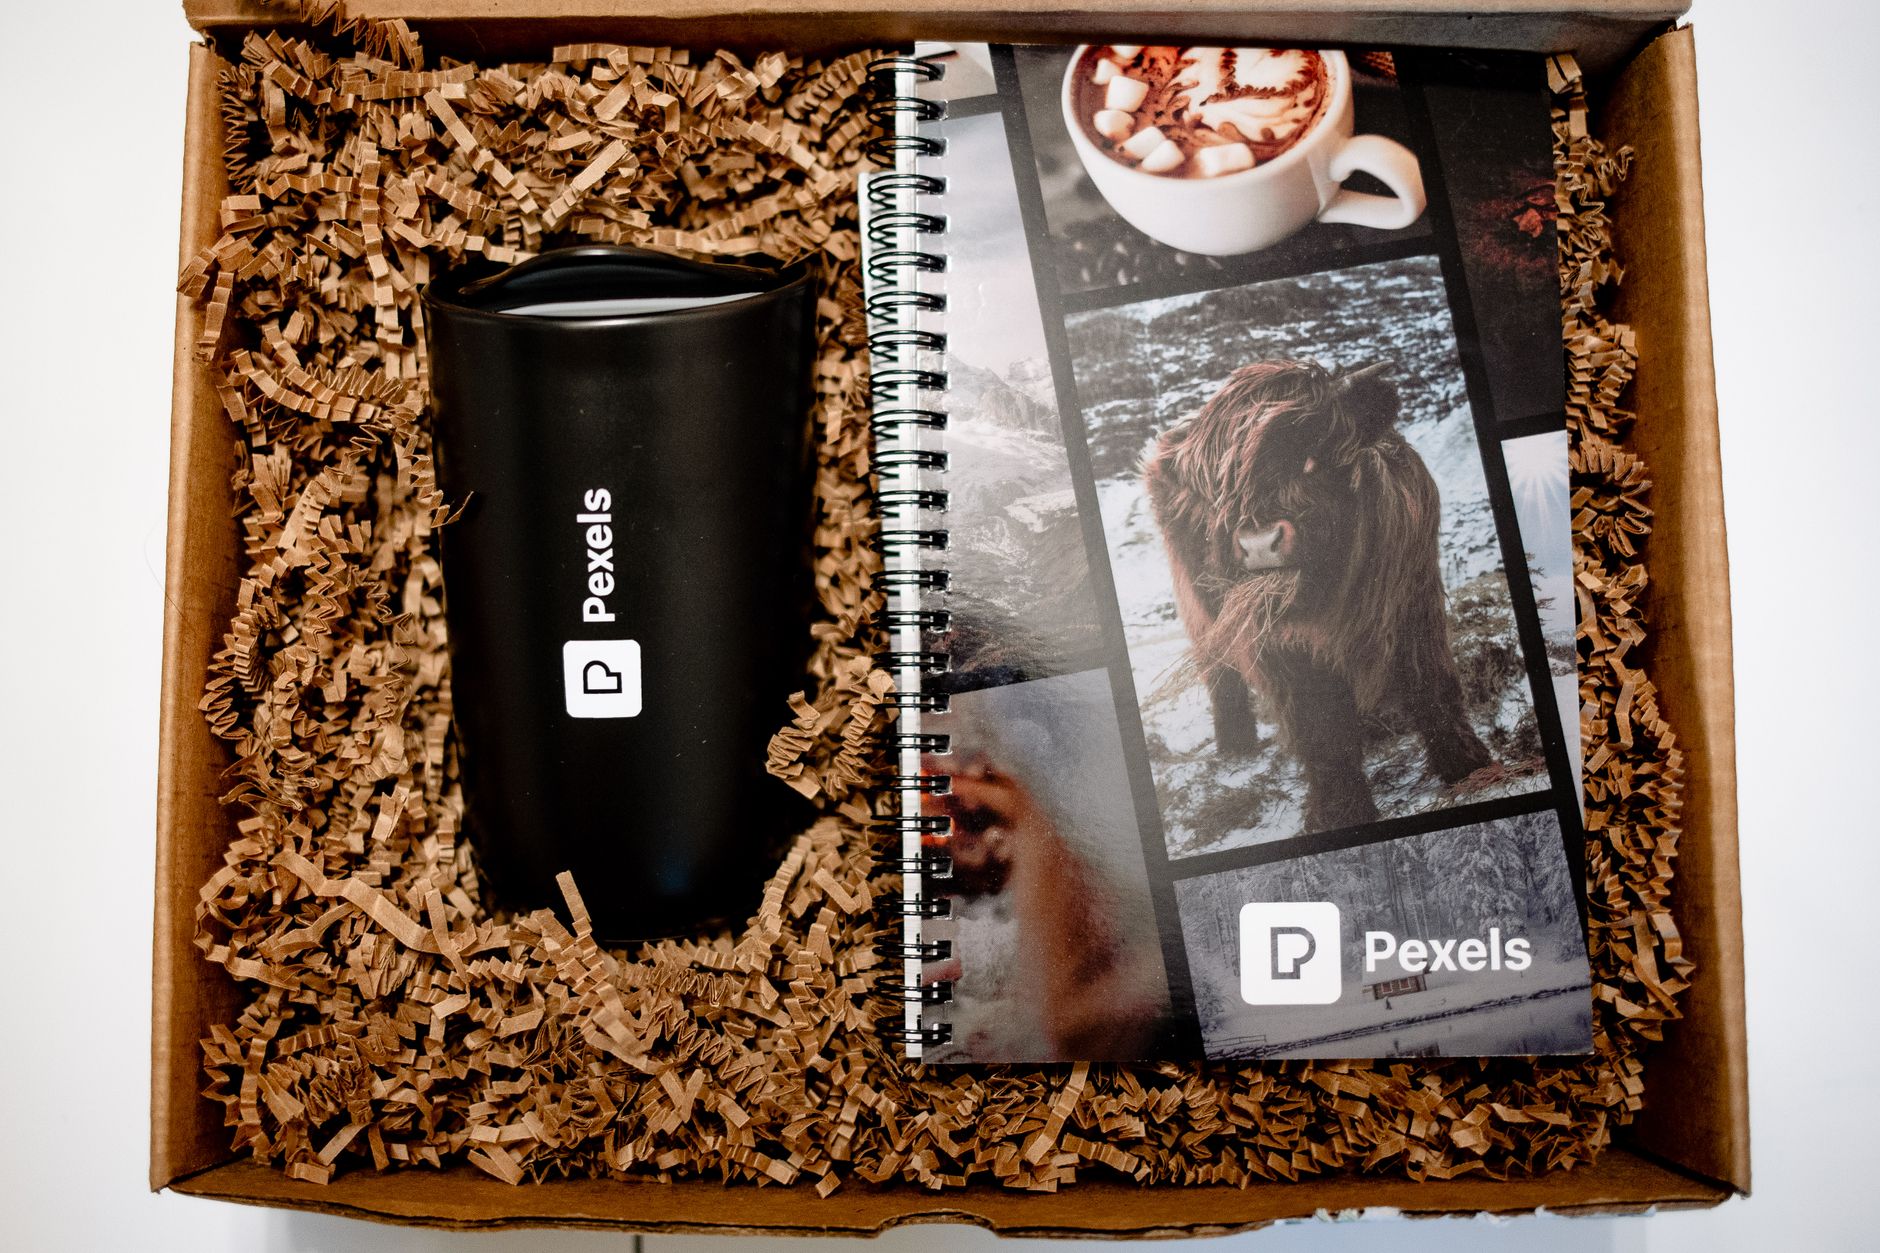
Drinkware (Water Bottles, Keep Cups, Mugs): Logos on cylindrical surfaces are typically applied via pad printing, laser engraving, or sublimation depending on the material. Laser engraving is particularly popular on stainless steel drink bottles, creating a sleek, premium look that doesn’t fade. Read more in our overview of branded drink bottles and drinkware options.
Bags (Tote Bags, Backpacks, Cooler Bags): Large surface areas make bags excellent canvases for logos. Screen printing on canvas totes is cost-effective at volume, while embroidery on backpacks adds a premium touch. If you’re interested in the sustainable angle, our post on eco-friendly promotional bags covers what to look for.
Tech Accessories (Power Banks, USB Drives, Earbuds): These compact items usually feature pad printing or laser engraving. The branding area is small, so a simplified version of your logo (a logomark rather than full wordmark) often works best.
Stationery (Pens, Notebooks, Lanyards): One of the most popular categories for events and conferences. Pens use pad printing; notebooks work well with debossing or foil stamping on the cover. For a deep dive, our guide to branded notebooks and stationery is worth reading.
Think About Colour Early
One of the most common mistakes organisations make is not thinking about colour until the very end. Your logo may look great in full colour on a white t-shirt, but how will it look as a single-colour print on a navy blue tote bag?
If your branding relies on specific Pantone (PMS) colours, make sure your supplier can match them — or advise you honestly if they can’t. Decoration methods like sublimation support full-colour printing, while screen printing and embroidery involve upfront colour decisions that affect cost. Learn more about how PMS colour matching works in promotional product printing before you commit to an order.
Understanding Decoration Methods for Promotional Items with Your Logo
Choosing the wrong decoration method is one of the fastest ways to end up with a disappointing result. Each method has strengths, limitations, and price points that suit different situations.
Screen Printing
Screen printing is the go-to for flat surfaces like t-shirts, tote bags, and some hard goods. It’s cost-effective at volume, produces vibrant results, and handles bold logos well. Setup fees apply per colour, so logos with many colours can become expensive at low quantities. It’s typically best suited to runs of 50 units or more.
Embroidery
Embroidery adds a textured, premium feel that screen printing can’t replicate. It’s ideal for caps, polo shirts, jackets, and bags where a professional finish matters. One thing to be aware of: fine details and gradients don’t translate well to embroidery. If your logo has intricate design elements, it may need to be simplified (digitised) for embroidery. Your supplier should provide a digitised preview before production begins.
Laser Engraving
Laser engraving is popular for metal and timber items — think stainless steel drink bottles, metal pens, wooden USB drives, and awards. The result is permanent, clean, and highly professional. There’s no ink involved, so the engraved area takes on the natural colour of the material beneath. Our post on laser engraving for branded products explains when this method is the right choice.
Pad Printing
Pad printing is used for irregularly shaped items — pens, phone accessories, keyrings, and many hard promotional goods. It applies ink via a silicone pad, allowing it to conform to curved or textured surfaces. It’s cost-effective and widely used across the industry.
Sublimation
Sublimation uses heat and pressure to infuse dye directly into the product — typically polyester fabric or coated hard substrates. It’s the only method that allows full, edge-to-edge photographic colour printing, making it popular for custom lanyards, branded mouse pads, and full-colour apparel. Bear in mind it only works on white or very light-coloured substrates.
Artwork Requirements: Getting Your Logo File Ready
This is where many orders are delayed unnecessarily. When placing an order for promotional items with your logo, your supplier will need your artwork in the correct format.
As a general rule:
- Vector files (AI, EPS, SVG, PDF) are preferred for most decoration methods. Vector artwork can be scaled to any size without losing quality.
- High-resolution raster files (PNG or TIFF at 300dpi or higher) may be accepted in some cases, but are not ideal.
- Low-resolution JPEGs sourced from a website will almost always be rejected.
If you only have a web-quality logo, speak to your supplier early — they may be able to assist with recreating it as a vector, though this usually comes at an additional cost. For a full breakdown, our artwork guide for promotional product orders covers file formats, colour modes, and common issues.
Budgeting and Minimum Order Quantities
One question that comes up constantly is: “How many do I need to order?” Most promotional product suppliers have minimum order quantities (MOQs) that vary by product and decoration method. Common MOQs include:
- Branded pens: 50–100 units
- Custom t-shirts: 12–25 units
- Embroidered caps: 12–24 units
- Branded drink bottles: 25–50 units
- Printed tote bags: 50–100 units
Bulk pricing tiers mean the per-unit cost drops significantly as quantities increase. For a Gold Coast events company ordering 500 branded lanyards, the per-unit price will be dramatically lower than an order of 50. Always ask your supplier for tiered pricing so you can make an informed decision.
Turnaround times are another critical consideration — especially for events. Standard production in Australia typically runs 7–15 business days after proof approval, while express services may be available at a premium. For time-sensitive orders, our guide to rush orders and express turnaround times outlines what to realistically expect.
If you’re sourcing gifts for corporate clients specifically, our post on premium corporate gift ideas for Australian businesses offers inspiration across multiple price points.
Managing the Proofing Process
Before a single item goes into production, always review a digital proof. A proof shows you exactly how your logo will appear on the product — the size, placement, colour, and any adjustments made by the decorator.
Don’t rush this step. Check:
- Is the logo positioned correctly?
- Are the colours accurate?
- Is the spelling correct on any text elements?
- Does the size feel appropriate relative to the product?
Approve only when you’re completely satisfied, because once production starts, changes become costly. Some suppliers also offer physical samples for large orders — worth requesting when precision matters. Our post on ordering samples before bulk production explains when and how to do this effectively.
Conclusion: Key Takeaways for Promotional Items with Your Logo
Getting the most from branded merchandise comes down to making smart, informed decisions at every stage — from product selection through to proof approval. Here’s a quick summary of what to keep in mind:
- Match your product to your audience. The right promotional item for a Darwin construction company looks very different from one for a Hobart charity gala.
- Choose your decoration method based on the product and logo. Not every method suits every logo — complex, multi-colour designs and tiny print areas don’t mix well.
- Prepare your artwork properly. Vector files save time and prevent delays. Get your files ready before you approach a supplier.
- Plan your budget around MOQs and bulk pricing. Order quantities significantly affect per-unit cost — always ask for tiered pricing upfront.
- Never skip the proof stage. A thorough proof review protects your investment and ensures your promotional items with your logo look exactly as intended.
With the right approach, your branded merchandise will do more than fill a conference bag — it’ll keep your logo working for your organisation long after the event is over.